.png?width=597&height=277&name=Untitled%20(44).png)
<aside> 💡 This article will outline the 3 steps to integrate Gander in Wix
</aside>
.png?width=597&height=277&name=Untitled%20(44).png)
.png?width=608&height=302&name=Untitled%20(45).png)
Tag Configuration: Please select “Custom HTML” You can search instead of manually looking for it Paste the following code snippet into the "Custom HTML" field:
.png?width=575&height=286&name=Untitled%20(46).png)
<script>
  if (window && window.require) {
    window.require.config({
      paths: {
        hls: "<https://cdn.jsdelivr.net/npm/[email protected]/dist/hls>",
      },
    });

    window.require(["hls"], function (loaded_script) {
      window.Hls = loaded_script;
    });
  }
</script>

<link href="<https://widget.gogander.online/static/css/index.css>" rel="stylesheet" />
<script src="<https://widget.gogander.online/static/js/index.js>"></script>

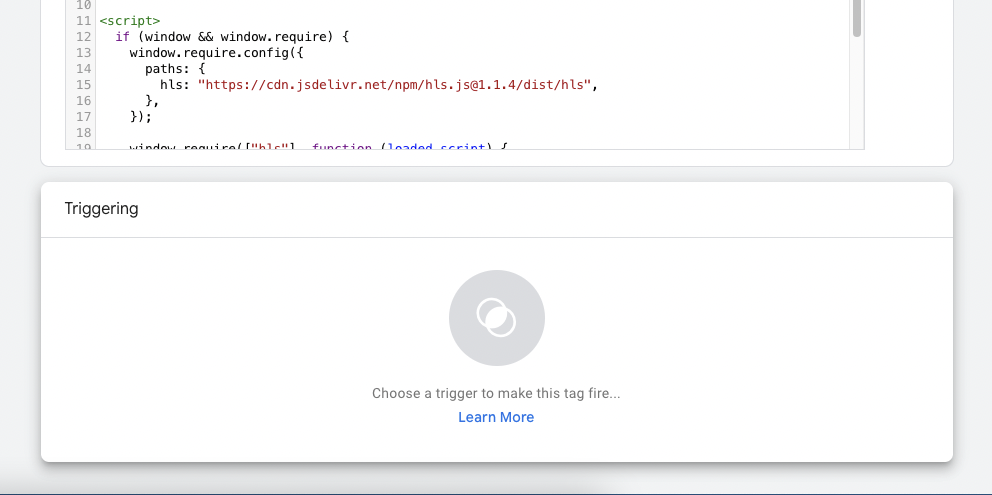
Triggering: Create a "Initialization" TriggerTo add a new trigger click on Triggering

Click on 'Choose a trigger to make this tag fire...' and on side drawer click on + plus icon
.png?width=678&height=412&name=Untitled%20(48).png)
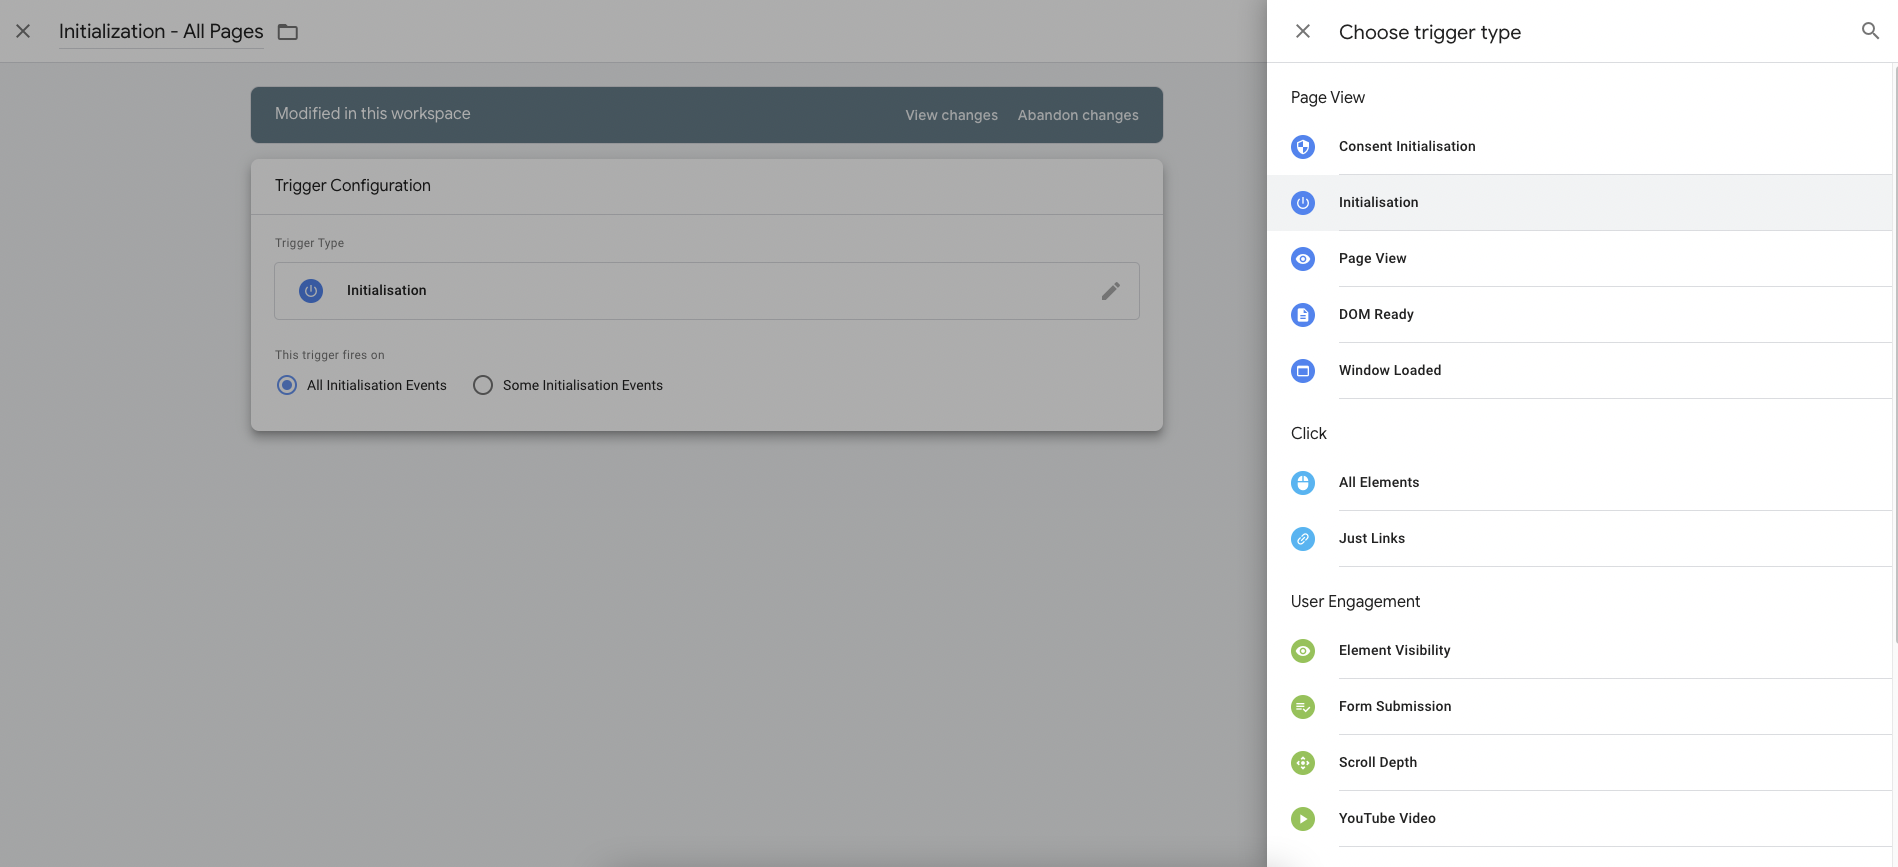
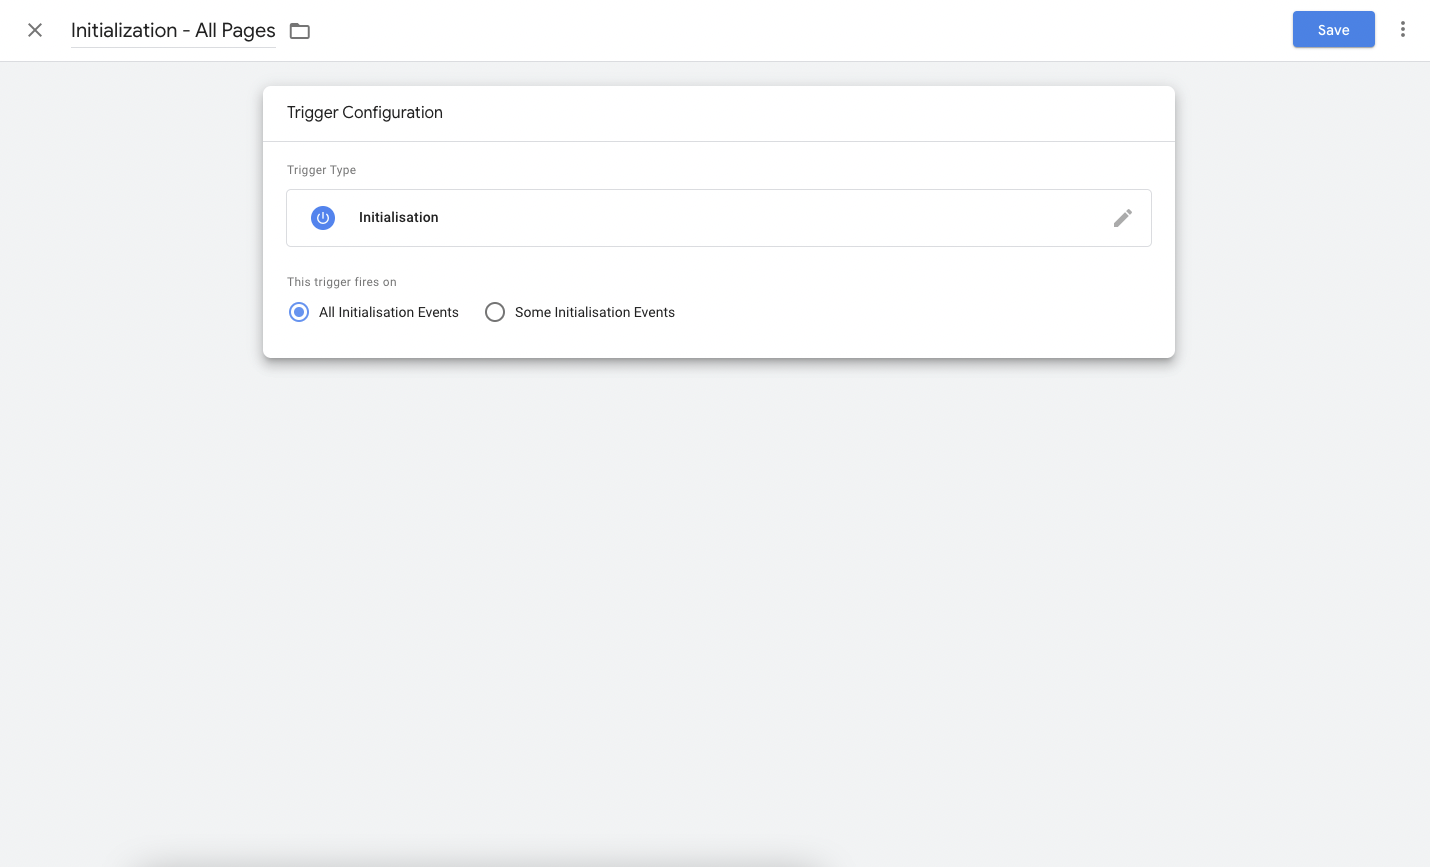
Name the trigger “Initialization - All Pages”

Select the “Initialization" trigger

<aside> 💡 Select trigger type 'Window Loaded' if you want to load videos after all other page elements have loaded.
</aside>
After adding the trigger, click “Save” on top right corner

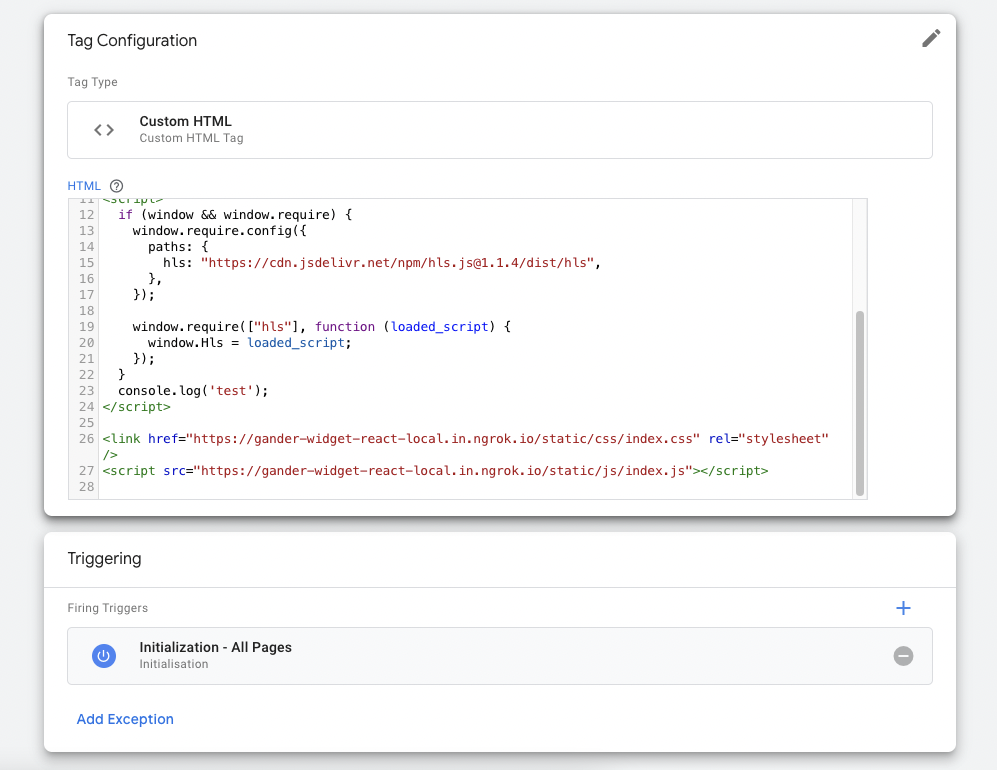
After saving from previous screen, select the newly created trigger and save again, here is how our final changes should look:

Once you have saved the Tag, please link videos to pages using the Gander dashboard. For more information on how to do so, please click here